ELECT-20, Electric Window Troubleshooting


Acrobat Printable Version

Introduction

When things go wrong with your electric windows, it can sometimes be frustrating to figure out the cause of the problem. This troubleshooting procedure is intended to help you determine the cause of problems with the operation of your windows.

Tools

Power Window Troubleshooter
Symptom
Possible Cause
Checks
Window will not move Blown Fuse If the fuse for the power windows is bad, neither window will move. So, if the problem is only one one side, the fuse is good.

Check Fuse:

  • Early 944s (Pre-1985.5) - Fuse 8 (16A), Additional Fuse Panel
  • Late 944s (1985.5 and Newer) - Fuse 4 (30A), Central Electric Panel
Bad relay If the power window relay is bad, neither window will move. So, if the problem is only one one side, the relay is good.

If you suspect that the power window relay is bad, you can remove the relay and jumper terminals 30 and 87 to power the window motors. When you install the jumper, you don't need to turn on the ignition switch to test/operate the power windows. On early 944s, the power window relay is located on the lower left side of the center console near the DME computer. On late model 944s, it's located on the Central Electric Panel (G7).
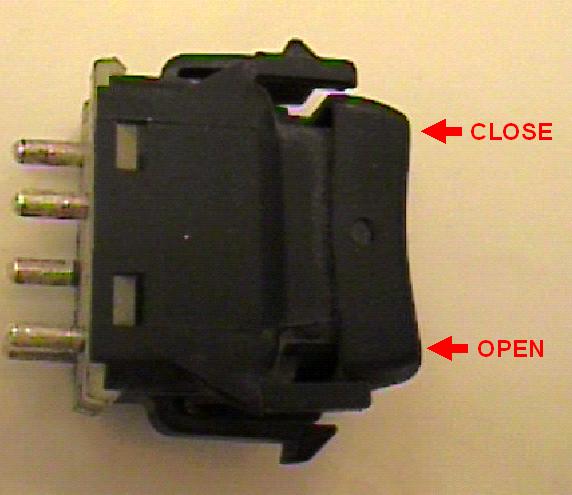
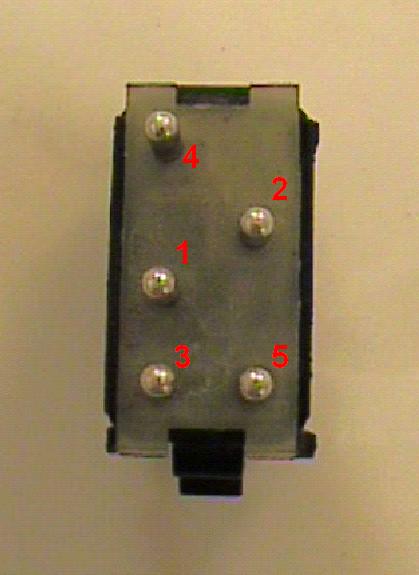
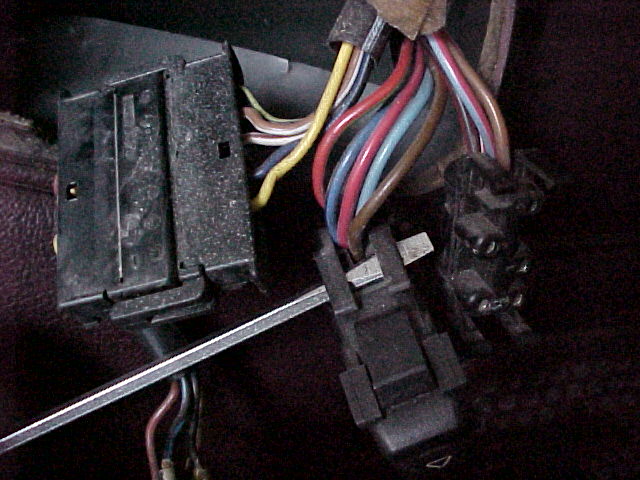
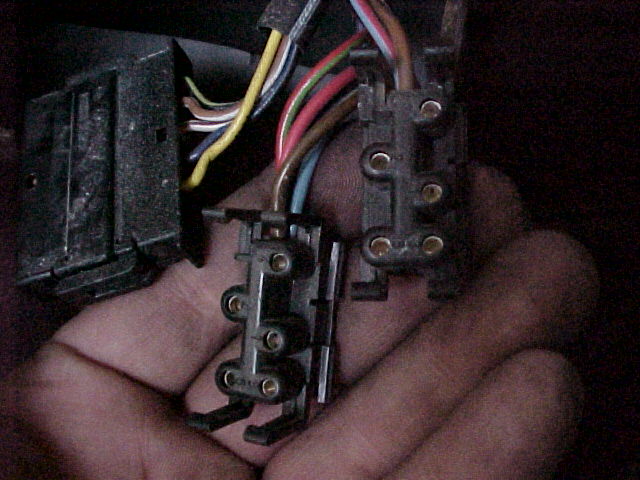
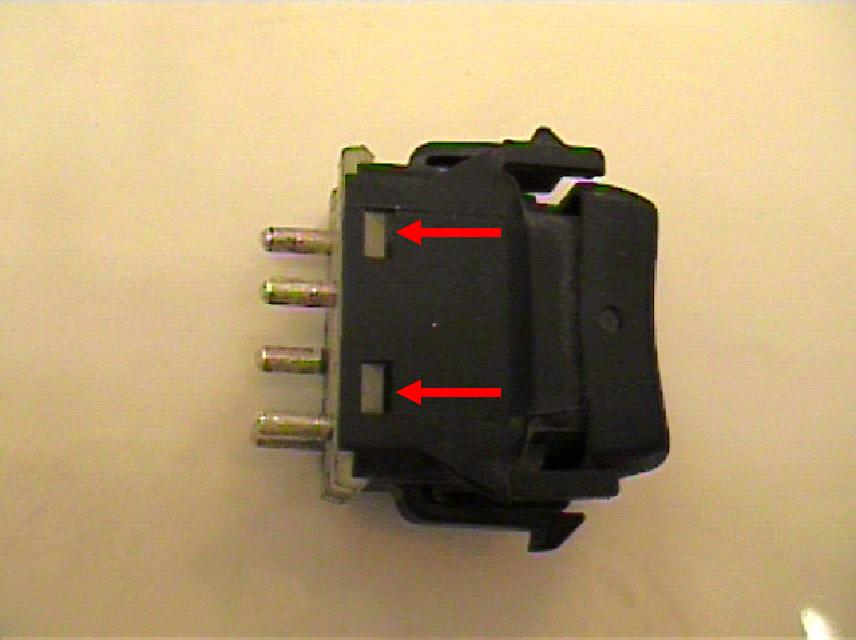
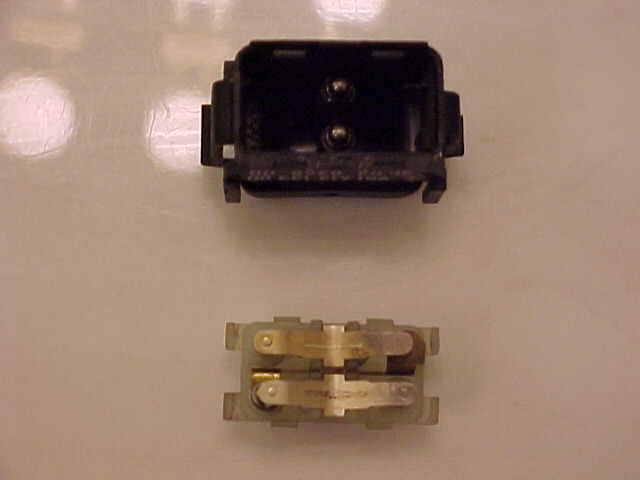
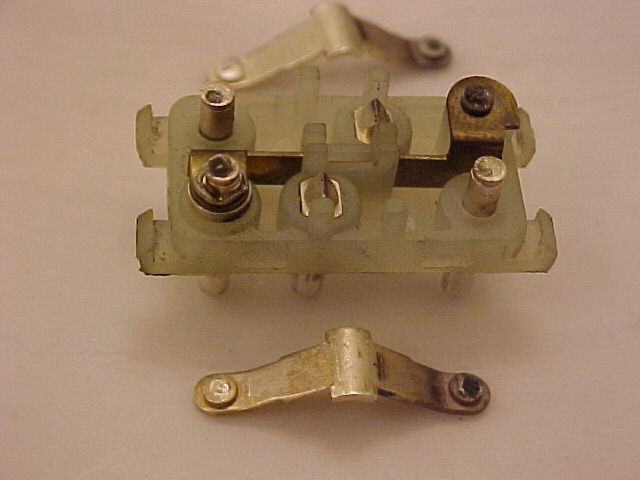
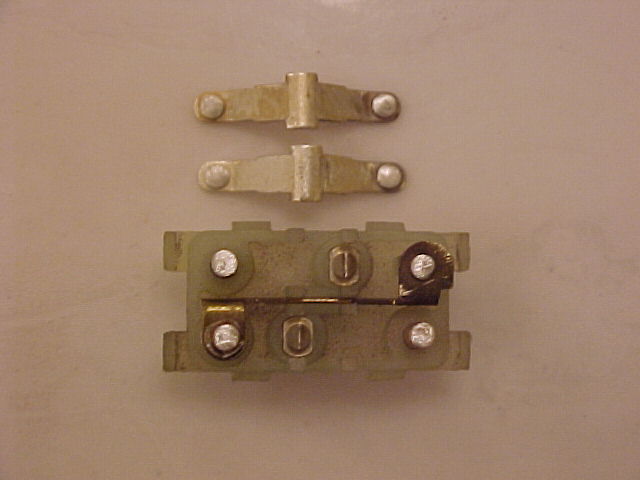
Bad Window Switch / Bad Wiring If your window problem is only on one side, the cause is most likely a bad switch, bad wiring, or a bad window motor. The most common problem of these is the power window switch. So, we will first troubleshoot the switch and in the process check the wiring up to the switch.

The passenger window switches (one on each door), are wired in series with the driver's side switch supplying power to the passenger's side switch. So, if you have a problem with the passenger's window it could be either side. The easiest way to test this is to take a known good switch (for example if the driver's window is working fine) and plug it into each of the switch locations for the passenger's window to see if you can get it to start working.

Window Switch Test

Windows Move Slowly Window Mechanism Dragging Lubricate Tracks on Window Mechanism. For instructions on removing the door panels to access the power window motor go to:
Door Panels - Removal and Installation.

Window Motor Check for proper voltage at power window motor plug when window switch is depressed. For instructions on removing the door panels to access the power window motor go to:
Door Panels - Removal and Installation.

Window Switch Test

  1. Remove the window switch to be tested from the door panel. There are four tabs on the window switches (two on top, two on bottom) which must be released to remove the switch. Use extreme caution when trying to release these tabs as they can be easily broken. I usually slide a small flat tip screwdriver under two of the tabs at the same time to release them (see picture below).

  2. Turn the ignition switch to the ON position.
  3. Using a voltmeter, on the switch plug, check for approximately 12 VDC from terminal 4 (RD/GN) to ground and terminal 5 (RD/BL) to ground. Proper voltage verifies the power supply and wiring up to the window switch is good.

  4. Using an ohmmeter check the window switch as follows:

    1. When the window switch is depressed in the open direction (see diagram above), you should read a low resistance (less than 1 ohm) from terminals 1 to 4 and terminals 2 to 3.
    2. When the window switch is depressed in the close direction, you should real a low resistance from terminals 1 to 3 and terminals 2 to 5.
  5. If the measurements taken above are not within specification, the window switch is bad. In this case, you have two options. You can replace the switch or you can disassemble the switch and clean the contacts. If you wish to try and clean the window switches, refer to the Window Switch Repair section below.

Window Switch Repair

Introduction

The majority of problems with window switches are the result of dirty contacts. Most of the time, the window switches can be disassembled, the contacts cleaned, and the switches reassembled and they'll function just like new switches. Sometimes however, the switches are worn to the point that the switches will not operate smoothly and they may have to be replaced.

Procedure

  1. The window switch terminal block on the back of the switch is held in place by four tabs (two on each side) which fit into detents in the switch body. Remove the terminal block by inserting a small flat tip screwdriver into the side of the terminal block on the back of the switch. Make sure you have the back of the switch facing up or the switch internals will fall out when you remove the terminal block.

  2. When the terminal block is off, remove the switch internals and inspect the switch contacts. If you measured the switch contact resistances in the switch testing section and the resistances were high, you'll likely find dirty switch contacts (see picture below).


  3. Clean the switch contacts and reassemble the switch. See the picture below for a comparison of the contacts before and after cleaning.

  4. After reassembly, check switch for smooth operation and test in accordance with the Window Switch Test section.

    NOTE

    The switch shown in the previous pictures was a non-operating switch which was repaired by simply cleaning the switch contacts.

Clark's Garage © 1998